How to Properly Install Drywall in 2025: Essential Tips for a Professional Finish
How to Properly Install Drywall in 2025: Essential Tips for a Professional Finish
Understanding Drywall Installation
Drywall installation is a crucial skill for any DIY enthusiast or professional contractor. It involves various **drywall techniques** that allow for a smooth and seamless finish. Whether you are building a new home or renovating an existing space, mastering drywall installation will result in durable walls that not only look good but also serve functional purposes, such as soundproofing and fire resistance. In 2025, the emphasis on DIY projects has surged, making it vital for individuals to learn the best practices for **drywall installation**, including selecting the right **drywall types** and tools for the job.
Choosing the Right Drywall Sheets
When embarking on your drywall project, selecting the appropriate **drywall sheets** is fundamental. Traditional gypsum board is widely used, but special types like **moisture-resistant drywall** are ideal for areas prone to humidity, such as kitchens and bathrooms. Furthermore, **fire-rated drywall** is essential for added safety in places like garages or shared walls in commercial properties. Taking the time to understand the various **drywall types** will help ensure you select the right materials and **drywall adhesive** for your specific project’s needs.
Essential Drywall Tools
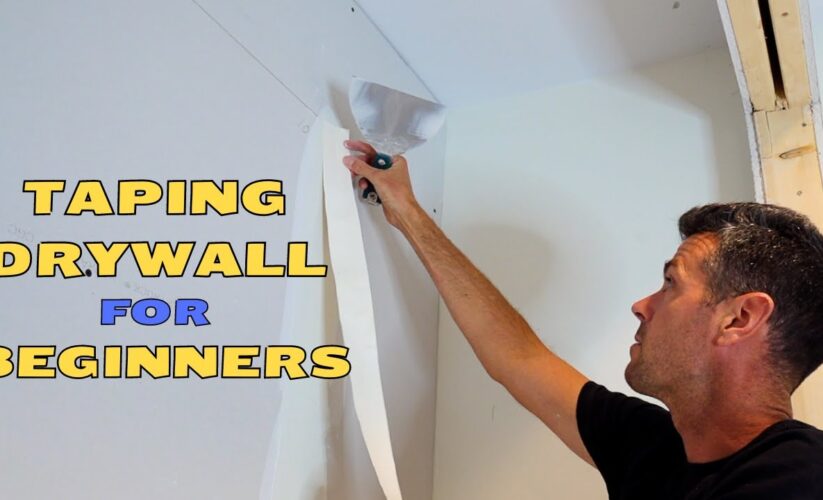
Equipping yourself with the right **drywall tools** can simplify the installation process. Key tools include a drywall knife, measuring tape, T-square, and a utility knife. Investing in a drywall lift can be beneficial for larger sheets, making it easier to place the boards accurately. Having a set of **drywall screws** and **drywall joint tape** at the ready will also provide a smoother and more efficient installation process, helping you achieve that professional finish.
Drywall Layout and Measurements
A precise layout is essential for effective **drywall installation**. Accurate measurements ensure that the drywall sheets align correctly, minimizing waste and potential additional costs. The general rule is to measure each wall, then determine how many panels you’ll need. Understanding **drywall measurement tips** can save both time and resources. Mark the stud locations on the floor and ceiling to assist with the correct positioning of your drywall sheets during installation.
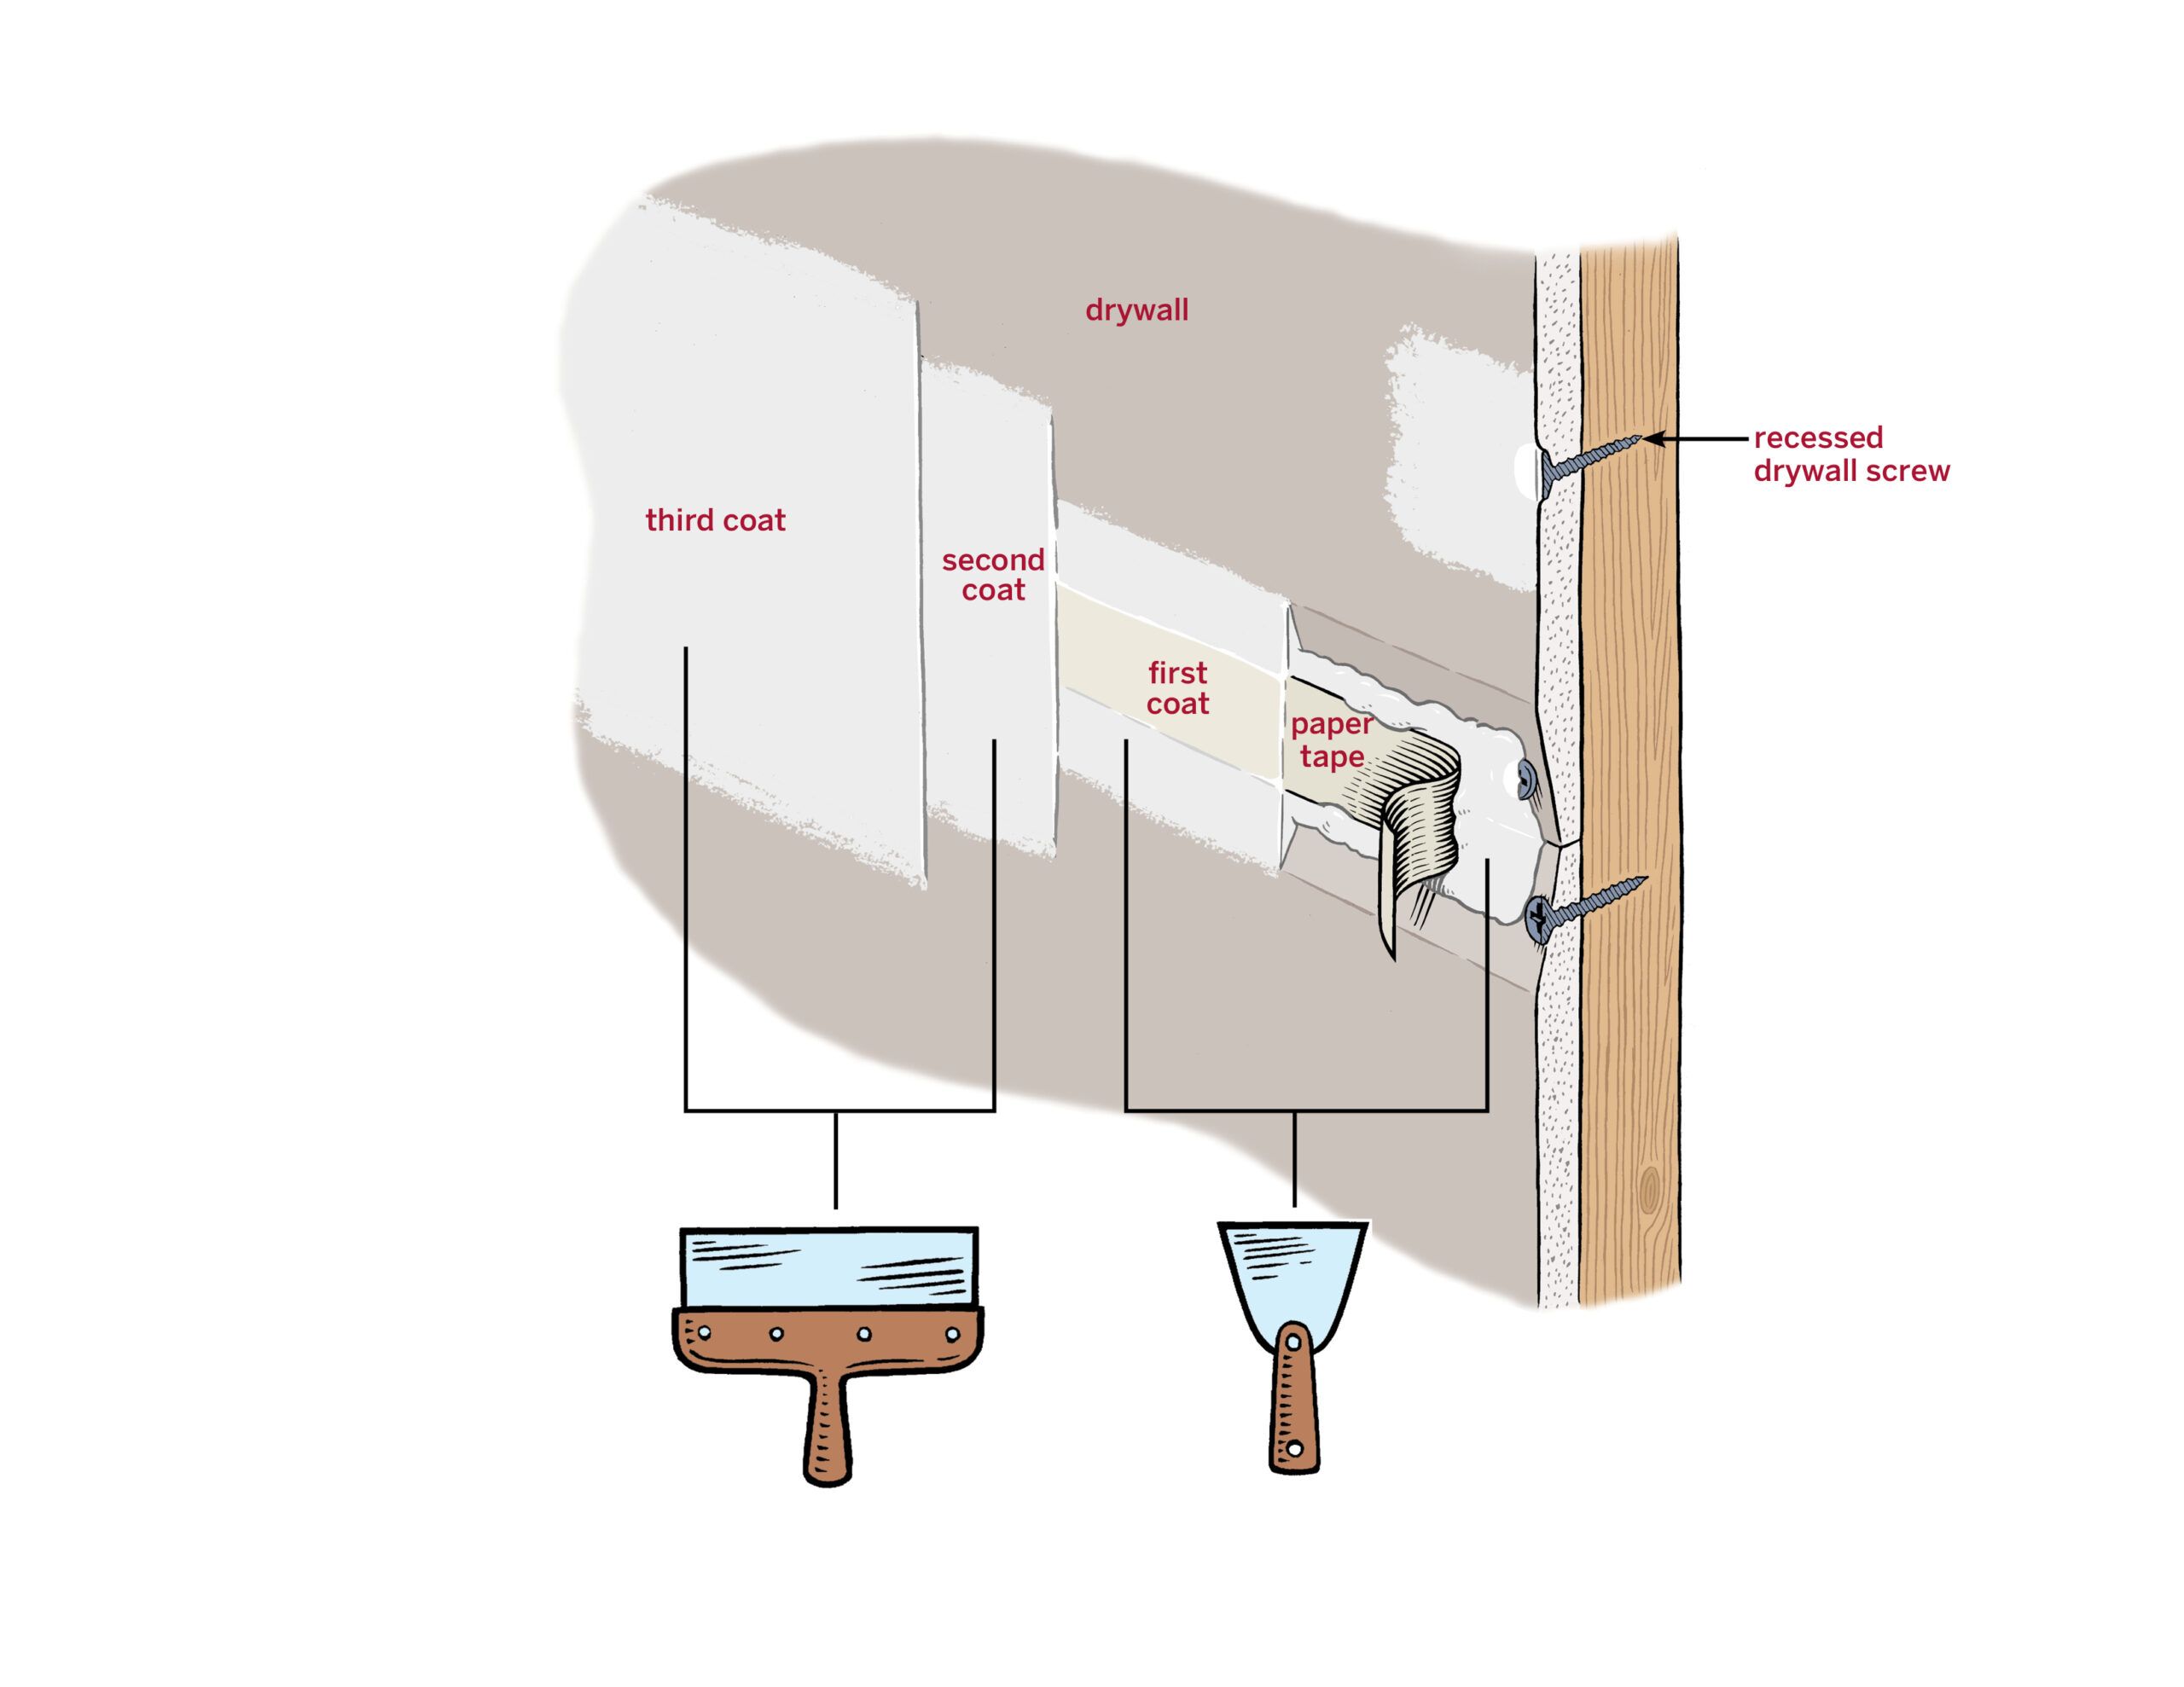
Mastering Drywall Finishing Techniques
Drywall finishing transforms basic sheets into aesthetically pleasing walls. Properly finishing drywall requires attention to detail and the right materials. **Drywall mud**, also known as joint compound, is essential for blending seams and concealing screws. Knowing how to effectively apply and sand **drywall joints** will significantly enhance your final product. In this section, we’ll delve into critical **drywall finishing tips** that can elevate your work and ensure a perfectly smooth surface.
Applying Drywall Mud Correctly
The application of **drywall mud** plays a pivotal role in achieving a professional finish. Start by applying a thin layer over the seams and screw holes using a taping knife. Allow the first coat to dry completely before sanding it down lightly with **drywall sanding** tools. Following this, apply additional coats of mud, feathering out the edges to seamlessly blend the patch into the wall. Understanding this **drywall technique** can help prevent visible seams and distortions in the wall surface.
Sanding and Finishing Touches
Once the mud has dried, the next step involves **drywall sanding** to create a flat, smooth surface. Use a fine-grit sandpaper attached to a sanding block to carefully smooth the area. For those hard-to-reach places, a sanding sponge can be efficient. After sanding, clean the surface thoroughly to remove dust. This phase is crucial for good **drywall painting**, as proper preparation will enhance the final paint application and overall appearance of the walls.
Adding Texture and Style
Incorporating texture into your drywall can add dimension and style to a room. Techniques such as knockdown, slap brush, or even a simple smooth finish can radically change the aesthetic. Utilize special tools for **drywall texture** application, and practice on a small section first to master your preferred look. Experimenting with finishes can provide personal flair while maintaining high standards in **drywall finishing processes**.
Essential Drywall Installation Safety Measures
Safety during drywall installation is paramount to prevent injuries and ensure a smooth working environment. Adhering to **drywall safety** protocols is critical, particularly when handling heavy sheets or using sharp tools. This section outlines best practices for maintaining safety while working with drywall materials.
Using Proper Safety Equipment
Always wear appropriate **drywall safety equipment** such as goggles, gloves, and a dust mask when cutting and sanding drywall. This gear helps protect against dust, falling debris, and potential injury from sharp tools. Implementing safety measures around your workspace, such as clearing pathways and ensuring ladders are stable, can minimize accidents significantly.
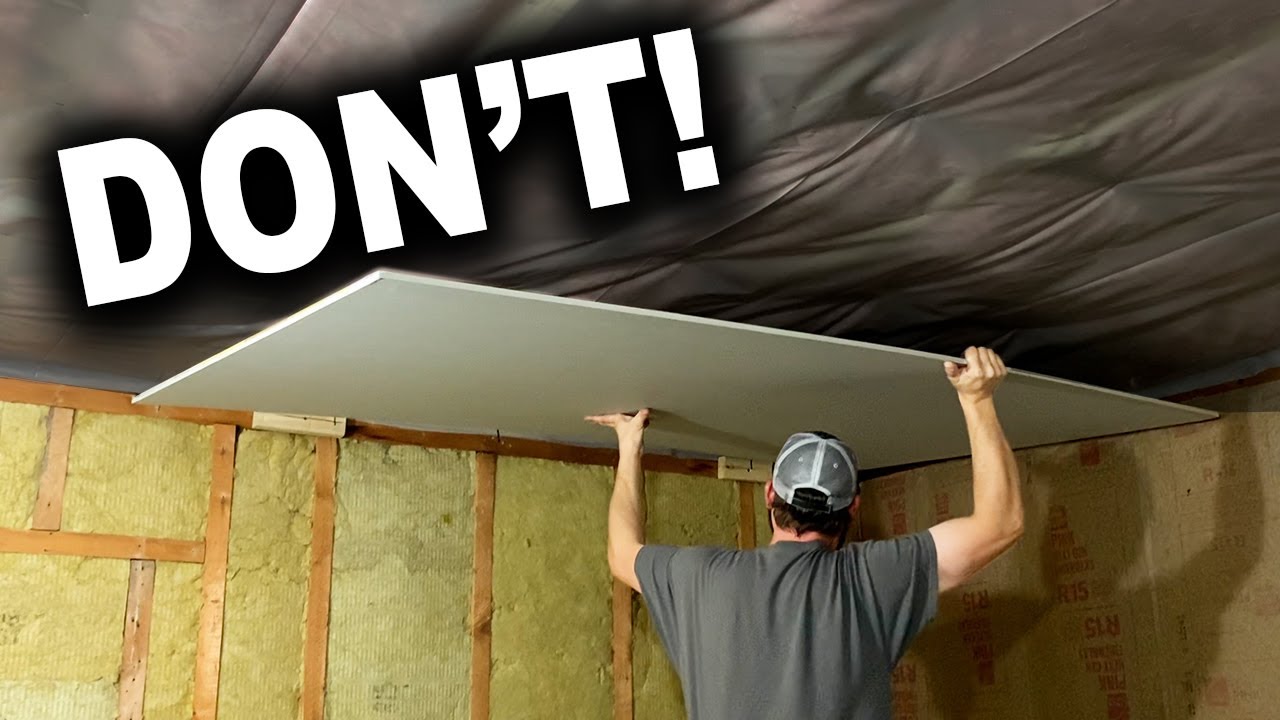
Handling Heavy Sheets
Drywall sheets can be heavy, presenting risks of back strain or falling injuries. Utilize **drywall lifting techniques** when positioning larger sheets to avoid muscle strain. If needed, don’t hesitate to ask for help or invest in equipment that can assist with lifting and positioning sheets safely. Understanding and applying **drywall handling** best practices will make the installation process smoother and safer.
Managing Dust and Health Risks
Working with drywall can generate large amounts of dust that are harmful to inhale. Ensure your workspace is well-ventilated, and consider using dust extraction systems or vacuums specifically designed for drywall work to minimize airborne particles. Regular breaks to step away from the dusty environment will help keep you focused and healthy throughout your project.
Key Takeaways
- Choose appropriate drywall sheets for your project—including moisture-resistant and fire-rated options.
- Equip yourself with essential drywall tools for a smoother installation process.
- Pay close attention to drywall finishing techniques, including mud application and sanding.
- Prioritize safety by using proper equipment and handling heavy sheets correctly.
- Consider artistic elements like texture to enhance your wall finishes.
FAQ
1. What is the best type of drywall for bathrooms?
The best type of drywall for bathrooms is **moisture-resistant drywall**, often referred to as green board. This specific drywall helps to prevent mold and mildew growth, making it suitable for high-humidity areas.
2. How thick should drywall sheets be for ceilings?
For ceilings, using **5/8-inch drywall sheets** is recommended, as they provide better strength and resistance against sagging in larger spans. This thickness also enhances soundproofing capabilities.
3. Can I install drywall alone, or do I need help?
While it is possible to install drywall alone, having a second person can make the procedure easier, especially when handling larger sheets. **Drywall lifting techniques** may require additional assistance for safety and precision.
4. What are common mistakes in drywall installation to avoid?
Common mistakes include improper measurements, insufficient joint mud application, and neglecting to secure seams with **drywall joint tape** effectively. It’s critical to take your time during installation to avoid such errors.
5. How do I know when to replace old drywall?
Replacing old drywall is necessary when you notice significant water damage, mold growth, or severe cracks compromising its structural integrity. Consulting a **drywall expert** can offer insights into whether repair or replacement is the better option.